Renters Insurance Inventory: What to Document Before You Need a Claim
A practical guide for renters on what to document for insurance before theft, fire, leaks, or damage turn your apartment into a memory test.
Renters insurance is one of those responsible adult things you buy hoping it remains deeply boring. The policy sits in your inbox, the premium renews, and everyone agrees not to think about burst pipes, stolen bikes, kitchen fires, or the downstairs neighbor discovering gravity via their bathtub.
But if you ever need to file a claim, your insurance company will ask a very simple question that suddenly feels impossible: what did you own?
A renters insurance inventory answers that question before your apartment becomes a scene from a mystery novel. It does not need to be perfect. It does need to be clear enough to show what you had, what it was worth, and where it lived.
Here is what to document now, while your coffee maker is still on the counter.
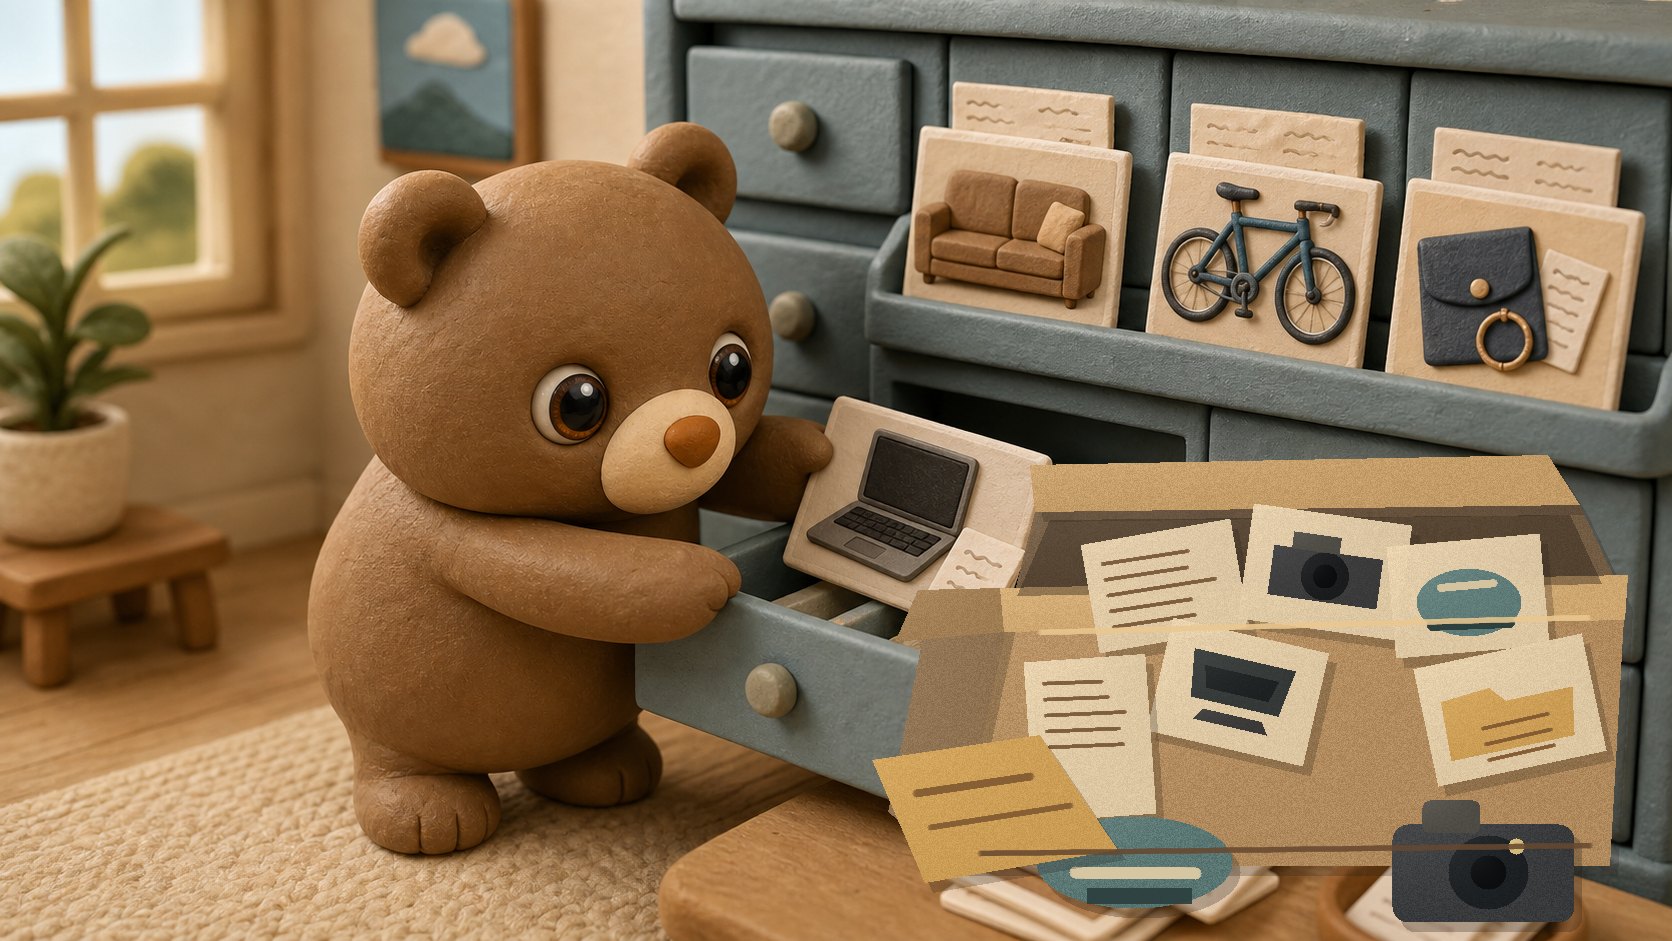
Start with proof that the item existed
For each important item, capture the basics:
- Item name
- Brand, model, or size
- Serial number, if available
- Approximate purchase date
- Approximate replacement cost
- Receipt, order confirmation, or bank record if you have it
- One or more photos
- Location in your apartment, storage unit, garage, or bike room
Do not let missing receipts stop you. A photo and a reasonable note are still useful. Evidence can be a receipt, a serial number, an email confirmation, or a clear record you made before anything happened.
Photograph rooms before individual items
Start broad. Take a wide photo of each room from two angles: living room, bedroom, kitchen, office nook, closets, bathroom storage, balcony, entryway, and any shared or assigned storage spaces.
These photos create context. They show the couch, rug, lamps, shelves, electronics, art, plants, and the quiet army of small things that are easy to forget later. If you only document individual valuables, you may miss the everyday items that cost real money to replace all at once.
Prioritize expensive, portable, and hard-to-replace things
You do not need to inventory every mug unless the mugs are somehow rare, valuable, or emotionally load-bearing. Focus first on categories that are expensive, commonly stolen, or painful to replace.
Document:
- Laptops, tablets, phones, monitors, keyboards, and headphones
- TVs, speakers, game consoles, cameras, and lenses
- Bikes, scooters, helmets, locks, and accessories
- Jewelry, watches, sunglasses, handbags, and luggage
- Musical instruments and audio gear
- Tools, power tools, sewing machines, and specialty equipment
- Furniture, rugs, lamps, and mattresses
- Kitchen appliances, cookware sets, knives, and espresso gear
- Work equipment owned by you, not your employer
- Collectibles, art, books, records, and hobby gear
For electronics, photograph serial numbers when you can. They help with theft claims and police reports.
Do not forget the boring replacement costs
A claim is not only about the obvious expensive items. If smoke, water, or fire damages a room, you may need to replace bedding, towels, clothing, shoes, dishes, cleaning supplies, toiletries, curtains, cables, chargers, and storage bins.
Individually, these are boring. Together, they are a large and rude number.
Use grouped photos for categories that do not need item-by-item detail. Open a closet and photograph the shelves. Pull out a drawer and photograph the contents. Add short notes like “winter coats and boots,” “queen bedding and towels,” or “small appliances and baking gear.”
Grouped documentation is not glamorous, but neither is trying to remember how many towels you owned while standing in a hotel lobby.
Track belongings outside your apartment
Renters often keep valuable things somewhere other than the actual apartment: a basement cage, garage shelf, bike room, car trunk, off-site storage unit, or that one closet your landlord calls “private storage” with suspicious optimism.
Include those locations in your inventory. A useful location path might look like:
Apartment → Bedroom Closet → Top Shelf → Black Document Box
Or:
Storage Unit → Left Wall → Clear Bin 03 → Camping Gear
The more specific the location, the easier it is to prove and recover what was affected. “Storage” is a place. “Storage Unit → Back Right Shelf → Blue Tote 02” is a location.
Save receipts where they are easy to attach
Receipts help, especially for newer or higher-value items. But receipt hunting can also quietly kill the whole project.
Use a practical rule: attach receipts for expensive, recent, or unusual purchases. For everything else, record an approximate value and move on.
Good receipt sources include email confirmations, order history, paper receipt photos, warranty registrations, card statements, and app purchase records. For secondhand items, note where and when you bought them and what you paid.
Check your policy limits while you are documenting
Inventory work can reveal whether your renters insurance actually matches your life. Many policies have limits for jewelry, bikes, electronics, instruments, collectibles, business equipment, or items stored away from home.
That does not mean those things are not covered. It means you should read the limits before you need them. If you own a nice bike, ring, camera kit, or music setup, ask your insurer whether you need scheduled coverage, a rider, or extra documentation.
Also check your deductible and whether your policy covers replacement cost or actual cash value. Translation: new-version money, or depreciated-old-one money? Boring question, meaningful answer.
Make the inventory easy to update
The best inventory is the one you will maintain. Update it when things change:
- You move apartments
- You buy expensive furniture or electronics
- You add a storage unit
- You reorganize closets or bins
- You renew or change your renters insurance
- You sell, donate, or replace major items
You do not need a monthly ceremony involving candles and spreadsheets. Just update the items that changed.
Where Cubby fits
You can make a renters insurance inventory in a spreadsheet, a notes app, or a folder of photos. The important thing is to start.
Cubby is useful when you want the inventory to reflect how your apartment actually works: home, room, closet, shelf, box, drawer. You can add photos, tags, nested storage locations, and searchable notes, then keep everything synced with iCloud. That means your insurance inventory also helps with normal life, like finding the bike pump, passport folder, spare router, or the tiny screwdriver set in witness protection.
Start with the high-value items. Add the hidden storage spots next. Then keep it alive as you buy, move, and reorganize.
A simple weekend plan
If you want to get this done without turning it into a second job, use this sequence:
- Take wide photos of every room and storage area.
- Add close-up photos for valuables and serial numbers.
- Record approximate values for the important items.
- Attach receipts where they are easy to find.
- Note exact locations for anything stored in closets, bins, garages, or storage units.
- Review your policy limits for categories that look expensive.
That is enough to make a future claim less chaotic. Your inventory does not need to impress a museum curator. It needs to help future-you answer, calmly and specifically, “what did you own?”